

After I finished the deck in early 2009, at the request of the Boss I finished the basement, re-painted the whole house, replaced carpet and hardwood floor. By the end of 2011, I started to remodel the kitchen. Considering that the old bar would not match the new kitchen, I also demolished the old bar when I demolished the old kitchen.
The old bar looked like following.


The old bar frame after the bar was removed. The paint buckets on the floor were for painting the kitchen. 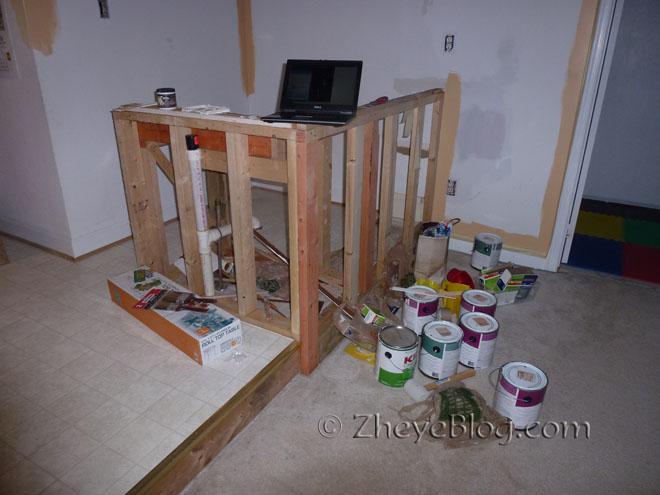
Many of our neighbors who have the same house layout removed their bar when remodeled their house, and used the space for other things. But the Boss still wanted to have a bar inside the house, so we went to a local bar shop to see what options we have. After visiting the shop, we realized there was no pre-made bar for us to buy, our bar had to be custom-made. Since the bar had to be custom-made, I wanted to see if I could make it by myself. So, I went to the Internet to research on how to build a home bar. After I viewed 2 websites, and I knew the material choices at Home Depot (I visited there quite often when I was finishing the basement), I decided to build the bar by myself.
To simplify the process, we bought one 24 in. wide base cabinet (36 in. tall, 24 in. deep), two 12 in. wide wall cabinets (30 in. tall, 12 in. deep), one 18 in. wide wall wine rack cabinet (30 in. tall, 12 in. deep), and toe kick boards. When we visited the local bar shop, both the Boss and I liked bar rail a lot, so I went to the Internet and purchased two straight pieces of oak bar rail, and one oak bar rail corner. I also purchased from Home Depot three pieces of 3/4 in. x 4 ft. x 8 ft. red oak plywood, some 1 x 4 in. solid oak boards, 1 x 3 in. solid oak boards, oak chair rail moulding, and oak shoe base moulding.
In February 2012, after I finished remodeling kitchen and replaced the floor with hardwood floor, I started to build the bar. The first step was to modify the base cabinet. The top drawer part was partially cut, so that the sink could be lower than the bar top. Then fasten the base cabinet to the floor. 
Wall cabinets do not have toe kick like base cabinets. To install the wall cabinets on floor, I used wood studs to raise the bottom of the wall cabinets to the toe kick height of base cabinet. So that not only the wall cabinets had toe kick, but also the top of the wall cabinets is at the same level as the top of the base cabinet.
Then I made a frame with 2 x 4 in. wood studs to reinforce the wall cabinets and support the bar top that would be installed later.
Following board was one piece of 3/4 in. x 4 ft. x 8 ft. red oak plywood.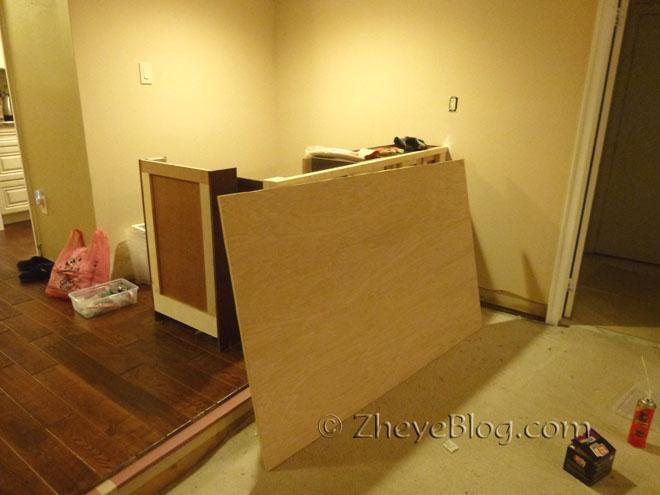
Cut the board into the size, then screwed it to the frame.
The boards on this side was not a whole board, and even little bit shorter than the frame. This was because the boards were leftovers and put together on this side. But it did not matter since the gaps and seams would be covered by decorating frames later.
Following are photos after the bar top was installed.

The bar top consists of two pieces of 3/4-in.-thick boards, both were cut from 4 x 8 ft. red oak plywood. The bottom board was screwed onto the frame. The top board was glued to the bottom one with liquid nails, and screwed from bottom. So, there is no single screw hole on the top surface.
The boards are plywood, and the edges do not look good as shown in the picture below. I had to cover them. I cut 1 x 3 in. oak boards (actual size: 3/4 x 2-1/2 in.) into 1-3/4 in. wide strips with a table saw, and made a little edge on the strips with a table saw as well.
Then I glued the oak strips to the edges of the bar top with heavy duty liquid nails. The liquid nails were so strong that there was no need to use nails or screws. 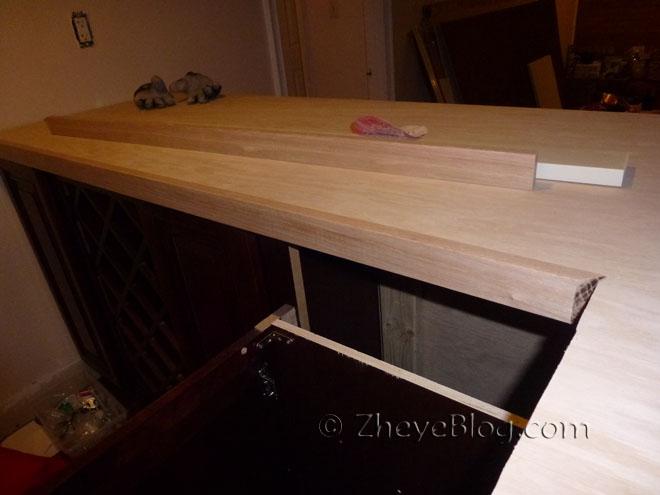

The next step was to install decorating frames. Most of the decorating boards were cut from the leftover of the plywood boards. Three decorating boards were 1 x 4 in. solid oak boards, which were installed at bar corners where there was no way to cover the board edges. The decorating boards were glued to the bar without using any nails or screws.
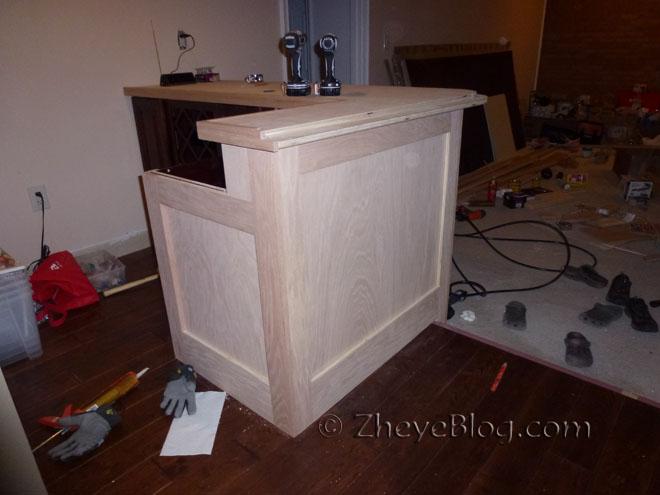
The inner edges of the decorating frames were still visible. The size of one side of oak shoe base moulding happens to be 3/4 in., which is exact the thickness of the plywood. So, I cut the shoe base moulding at an angle of 45 degrees into desired lengths, and glued them to the inner edges of the decorating frame. 
Following pictures were taken after bar rails were installed.

The bar rails were glued to the top, and were screwed from bottom.
The oak chair rail moulding was cut at an angle of 22.5 degrees into pieces.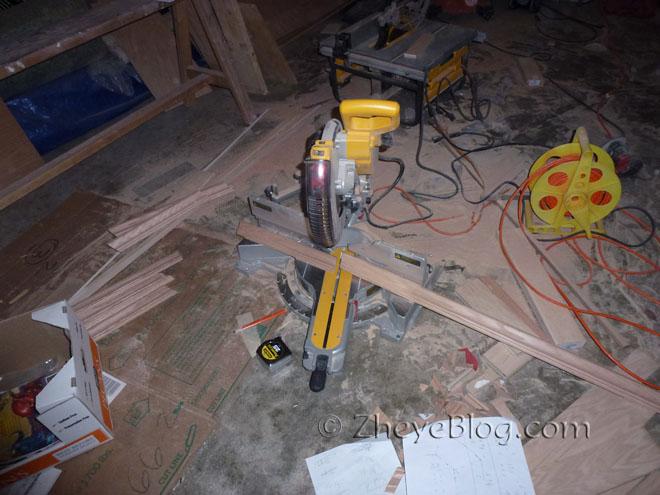
The moulding pieces were glued to the bar to make decorating patterns.


After glue was dry, I filled gaps and seams with wood filler, and sanded the whole bar. Then the bar was ready for stain.
Before stain, I used masking tape to cover the border area where should not be stained.
Staining the bar. 
The bar after polyurethane application.
The last step was to install the sink. The granite countertop and backsplashes in the photos below were given as bonus when we purchased thousands dollars of kitchen and bathroom countertops from a company. I bought a faucet and installed it. After the water line and drainage pipe were connected, the home bar was finished. 


It was my first big stain job and I was little rushed, the bar was not stained well. I was kind of unsatisfied at myself. But the Boss does not care that much, and she loves the bar. Well, happy wife, happy life! No more complaints.