

( previous blog, first blog of the series )
6. Decking
After the framing was done, I ordered EverGrain deck boards and railing systems at the shop where I purchased lumber. The first 40 pieces of 20-foot-long deck boards in two colors, Cedar and Cherry Wood, arrived. This time, I did not let the truck drive to our backyard (they did so previously and tore up the ground). Instead the boards were unloaded on our driveway.

A second delivery followed with the railing systems and decorative boards (skirting).
In total there were 98 pieces of material. The boys came back from school, and I asked them to help me move the items to our backyard. The long boards are quite heavy and needed two persons to move each one. After we had moved dozens of pieces, the younger son said it would be great if mom (the Boss) gave birth to more sons, then we could finish quicker. We kept moving until dark, and moved all items.
Since the decorating trim would cover the weight-bearing structure, it was necessary to hold off adding it until the County inspection was completed. After passing inspection and before adding the decking, I installed decorating parts of deck. The following is a 1-inch-thick board used to cover railing posts.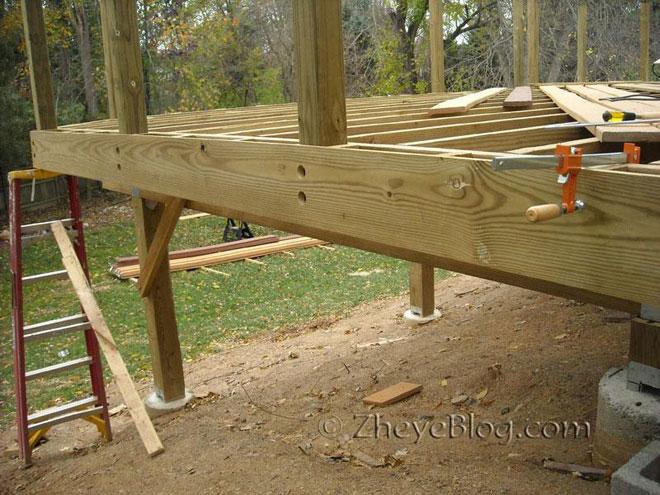
The holes in the board were designed to leave some space for the bolt heads.
The small wood blocks outside rim joists were used to hold decorating wood boards and deck boarders in place. These little things took a lot of time.

After installing wood decorating boards.

Fasten the composite decorating board.

Lifted deck boards onto frame, then made cut.
Installed the first deck board.
Between the first deck board and each one that followed I inserted green 1/8-inch thick plastic spacers to ensure even gaps between boards.
Finished step.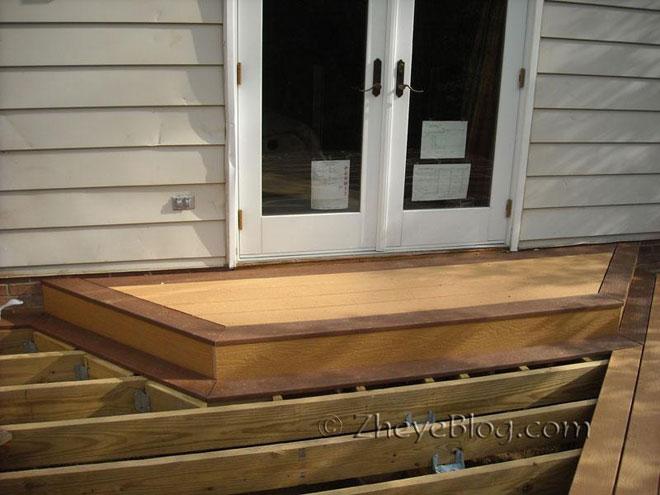
A board cut by jig saw.


In the process of decking.


Deck border bypasses the rain downspout.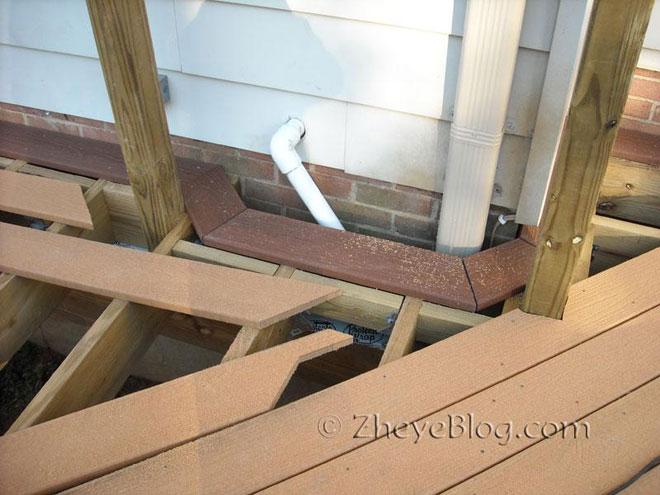
A corner to be finished.

A finished corner after decking.
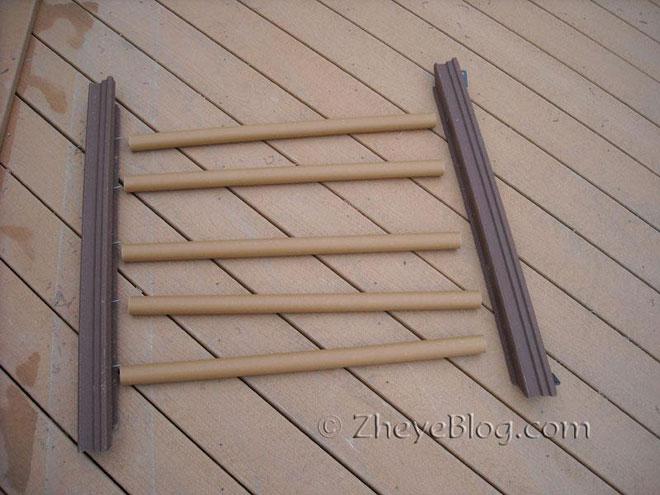
An assembled railing section.
Procedures of assembling railing systems. 


It took quite a bit of time to do decking and install railing systems. Luckily the weather still had not turned cold. The day after Christmas the temperature was above 70F. I was able to work outside in T-shirt that day. The boys helped me with the work.

Next step was to construct and install stairs.


Then the stair railing. There is a specific angle for the stair railing, so all railing balusters had to be cut with the same angle.
I encountered a problem with stair railing posts. Since the railing was at an angle, the posts needed to be a little longer than they would have been if the posts were on a flat surface. The standard railing post sleeves seen in the following photo were slightly shorter than the required length. 
So, I had to order two long post sleeves and waited couples of days for them to arrive, then cut them to desired length. 
The stair steps right next to railing posts should not be installed before installing stair railing. Otherwise, there would be no working space for installing stair railing.
After installing the railing, I installed the last stair step.
This section of railing was the last one to be installed. Because the stair railings were assembled on the deck, and I needed this gap to move the raillings to the stair for installation. 
After four and half months, the deck was finally completed on January 10, 2009!
( next blog )